Showing posts with label holiday. Show all posts

Sunday, December 4, 2016

Gingerbread!


It's beginning to look a lot like Christmas! Facebook posts galore. There's a tree on each profile page, photos of tablescapes. I'll get behind if I don't find decor!

At least, that's how I felt this weekend. I had already planned to hang ornaments on my little Christmas tree when the week finally came to an end, but after seeing how far along my Facebook friends and real-life neighbors were in getting their Christmas spirit on, I felt it was time to do some holiday decorating and spontaneous Christmas activities of my own. I decked out my front yard tree in lights, watched a Yule Log video on Netflix, and decided to bake gingerbread cookies!

Now I've made gingerbread cookies before, but I didn't know if my experimental take on a recipe from childhood was necessarily the best gingerbread cookie recipe out there. Also, I love finding tried and true, tested recipes online. So I did a web search and stumbled onto The Most Wonderful Gingerbread Cookies on Food.com (special thanks to gingerkitten D for the post). I chose this result because the recipe had five stars, and I had all the ingredients.

It's a good thing I gave it a try--these cookies were delicious! Not too hard, not too soft, and the perfect amount of sweetness whether you frost them or eat them straight out of the oven! It fulfilled my craving for gingerbread and for holiday cheer--I even made my first (terrible, tiny) gingerbread house! Now you can make one too!

Ingredients:

3 cups all-purpose flour (I used self-rising flour since I had it)
1/4 teaspoon salt (I put in just slightly less)
1 Tablespoon ground ginger
1 and 3/4 teaspoons ground cinnamon
1/4 teaspoon ground cloves
6 Tablespoons softened, unsalted butter
3/4 cup brown sugar
1 egg
1/2 cup molasses
2 teaspoons vanilla

Directions:

1.) In a medium-sized bowl, sift together the flour, salt, ginger, cinnamon, and cloves, stirring to combine. In a separate, larger bowl, beat the butter, brown sugar, and egg with an electric mixer on medium speed until the ingredients are thoroughly combined. Add in the molasses and vanilla, and continue to blend.

2.) Slowly add the dry ingredients to the wet ingredients in batches, beating with the electric mixer to combine until the flour disappears each time (be careful as the flour and the batter are likely to fly out of the bowl!). Once the flour is all incorporated and no longer visible, make sure the dough is just sticky enough to form into a small lump (I added a couple of Tablespoons of milk to help). Divide the dough in half and wrap each lump in plastic cling wrap to sit out at room temperature for about 2-3 hours.

3.) Place one lump of dough onto a sheet of parchment paper and begin to roll it out with a plastic rolling pin sprayed with nonstick cooking spray. Once the dough is flat and thin (about 1/4-inch thick), you can cut out your cookie shapes with your favorite gingerbread men or other cookie cutters. Place them on a sheet of parchment paper about an inch apart each and then freeze for approximately 15-20 minutes to help keep them from spreading in the oven.

4.) Preheat the oven to 375 degrees. Transfer the parchment paper with the cold cookie dough to a baking sheet and bake the cookies for approximately 7 minutes (watch them carefully so they don't burn!). If you want to make a gingerbread house, save the second lump of dough to roll out and cut into squares (dough should keep in the fridge for up to four days if you're too tired to make it all at once, like me). Remove the cookies from the oven and let cool on the baking sheet for 2-5 minutes before transferring to a wire rack to cool completely. Once the cookies are room temperature, you can frost them with your favorite colored icing.

I should warn you that making gingerbread cookies is pretty time consuming (you have to wait for the dough to sit at room temperature, wait for the cookies to chill, wait for the cookies to bake, and then wait for the cookies to cool to room temperature again so you can frost them without melting the icing). BUT, I will say they're totally worth it. I gave away non-iced but fresh-from-the-oven cookies to friends, went out to watch football, and came home to room temperature cookies I could frost and eat immediately.

Christmas cookies always feel festive, but gingerbread just has that extra special holiday feel. And despite the time it takes to make them, they're actually quite easy to put together. Now, making a gingerbread house--that's a LOT harder than it looks.

Pumpkin Cheesecake!


I wanted to try something new this Thanksgiving. I usually make exactly two pies: pumpkin and pecan. Facebook also cheerfully reminded that five years ago for Thanksgiving I made two pumpkin pies, two pecan pies, cranberry sauce, and a sweet pumpkin dip. This year brought about a stressful week right before Thanksgiving, and I asked my mom if I could be free of pie duty this year. She was happy to take on our pumpkin and pecan pies so that tradition could continue and to help me out.

But I can't stay away from baking for long. I soon found myself wondering if maybe I should try that Pumpkin Cheesecake recipe I'd been saving for weeks from FoodNetwork.com. I'd purchased all the ingredients (twice) and still had yet to make it. I thought maybe Thanksgiving would be the perfect time.  Maybe baking would be the ultimate stress reliever as it had been for me in years past. And so I threw it together, following the Pumpkin Brulee Cheesecake recipe fairly closely but with my own style, and enjoying the whole process.

Ingredients:

8 sheets of graham crackers (honey, not cinnamon)
1 Tablespoon unsalted butter, melted
12 ounces low fat cream cheese
1/2 cup brown sugar (light)
1/3 cup plus 1 Tablespoon white sugar
1/2 teaspoon salt
2/3 cup low fat Greek yogurt
2 eggs
2 egg whites
15 ounces (one can) pumpkin puree
2 Tablespoons flour (I used whole wheat pastry flour again)
1 Tablespoon pumpkin pie spice
1 Tablespoon vanilla extract

Directions:

1.) Preheat the oven to 325 degrees. Mash your graham crackers into tiny pieces and crumbs (I placed the graham crackers in a plastic baggie and then mashed them with a meat mallet, carefully so as not to hurt the counter). Pour graham cracker crumbs into a bowl and mix in 1 Tablespoon of white sugar, 1 Tablespoon melted butter, and 2 Tablespoons water. Mix until the graham crackers are moistened and can be pressed into the bottom of a pie tin. I like to press mine in with a plastic baggie over my hand lightly sprayed with nonstick cooking spray.

2.) Bake the pie crusts 10 minutes and set aside to cool completely. Then in a large bowl, combine the cream cheese, brown sugar, 1/3 cup white sugar, and salt. Beat in the yogurt, egg, and egg whites. This can all be about medium speed. Lower the speed and add pumpkin, flour, vanilla, and pumpkin pie spice. Keep the speed low, then stir with a spatula to fully combine.

3.) Pour the batter over the cooled crusts and bake in the center rack for about an hour (check about five minutes before to make sure it's not burning too much). Place on a trivet to cool to room temperature. Refrigerate overnight.

4.) Top with whipped cream or other toppings of your choice. I skipped the actual "brulee" part of the original recipe (lacking a torch) and went for a whipped cream border instead!

Thanksgiving was a great success with the immense help of my mom, the help of my brother, and my small pie contribution. It held together, didn't taste overdone (despite the browning on top) and was a delicious dessert to enjoy with family!


Sunday, July 24, 2016

Perfect Pancakes by Jamie Oliver


My mom sent me this Tweet from Jamie Oliver (celebrity chef extraordinaire) months ago, along with a care package of self-rising flour. Turns out it is the easiest way to make pancakes when you're craving them, and they always turn out fluffy and light! Try adding blueberries, chocolate chips, or other additions to customize to your tastes. Perfect!

Ingredients:

1 egg
1 cup self-rising flour
1 cup milk (I use fat-free or 1%, lactose free milk by Lactaid)
Pinch of salt

Directions:

1.) Whisk ingredients together. Pour onto a hot griddle that's been lightly coated with canola oil (you can tell it's ready when a drop of water placed on the pan starts to sizzle). Allow the edges of the pancake to harden and then flip it. Cook another minute or so, checking the underside for doneness.

That's it!

I saved this recipe for Valentine's Day (I had a lot planned and didn't want to lose time on an extensive, complicated endeavor), and poured the pancakes into a silicon heart-shaped mold for a breakfast filled with love. And chocolate chips. It worked great and gave me plenty of time to set up gifts, make bacon (another way to show your love), and get ready for a date at Gameworks. But really, you can use these pancakes for any occasion!


Thursday, March 17, 2016

Green Sour Cream Pound Cake for St. Pat's!


Happy St. Patrick's Day! It's the one day out of the year where my baking can match my clothes. Green, after all, has always been my favorite color. This year St. Patrick's Day also fell within the week of Spring Break at the college where I work. It's fairly quiet on campus, which makes it the perfect time to bring in treats to colleagues who have been working so hard to make it to mid-semester.

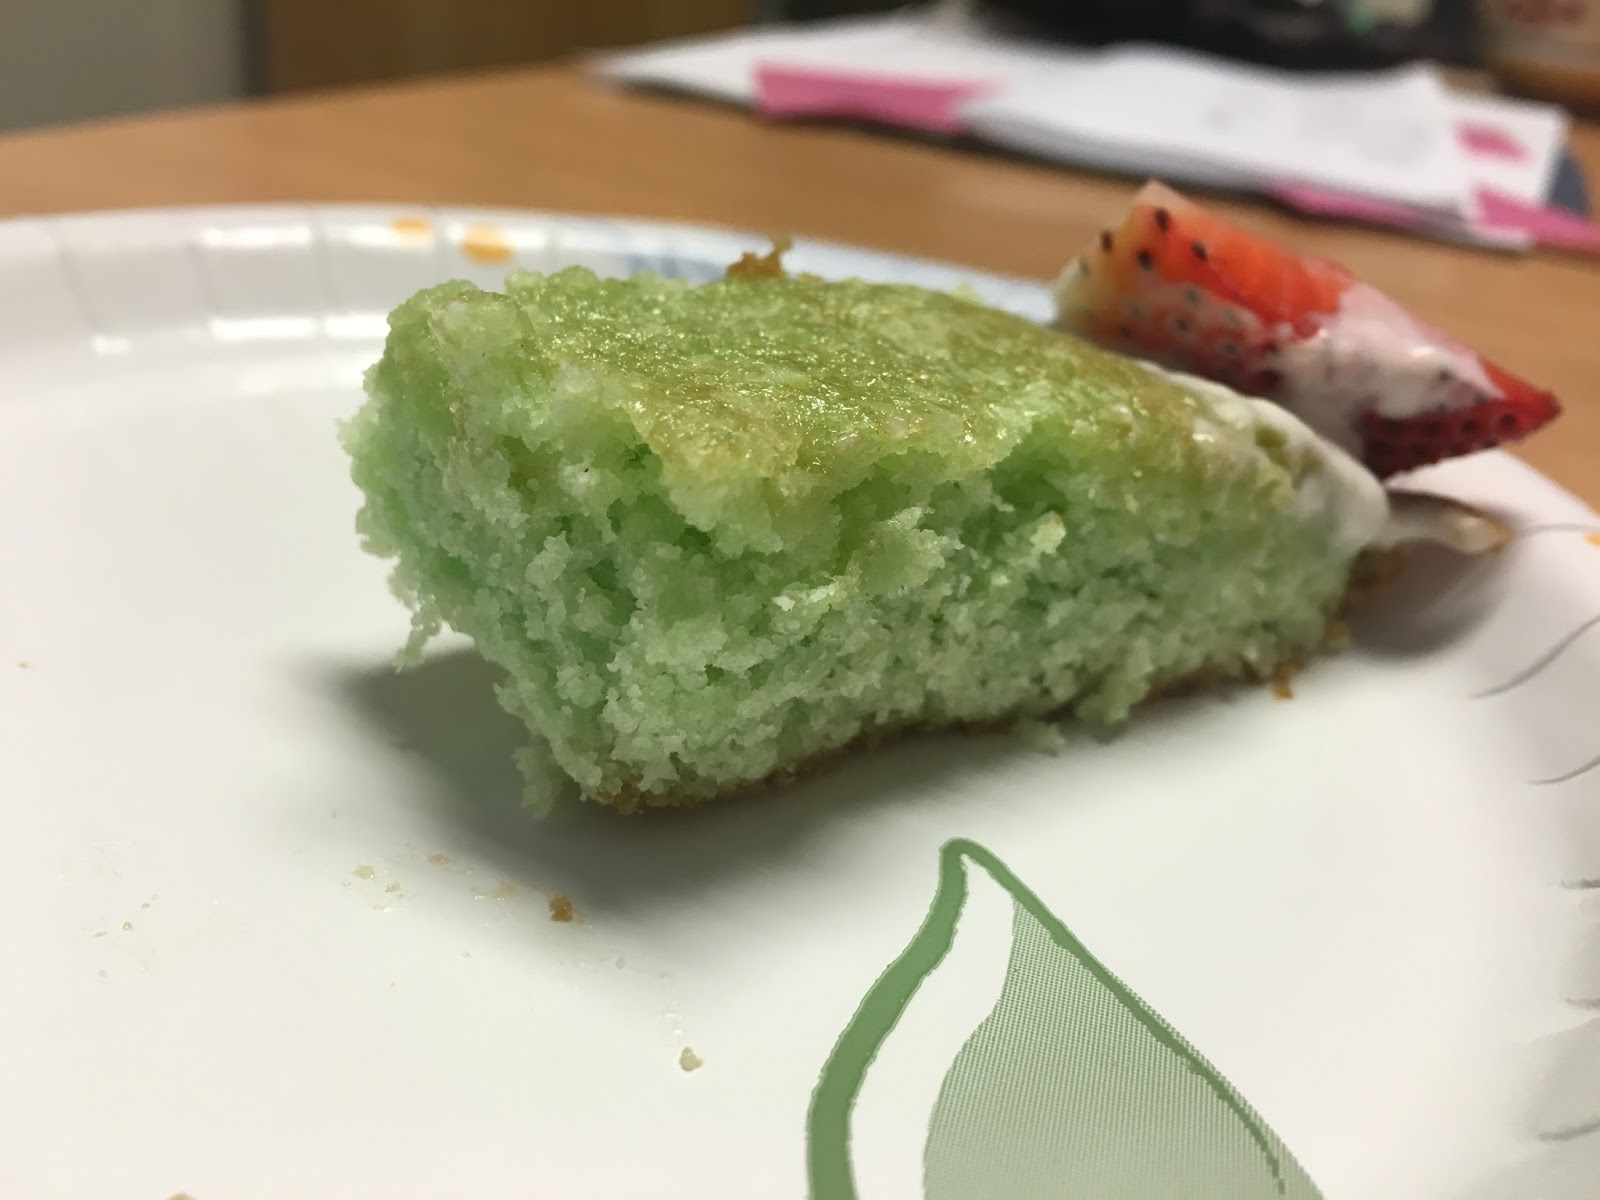
So I knew I would be baking something green well before the day arrived. I just wasn't sure what. I wanted to make something from scratch and use the ingredients I had. I'm not sure how the idea of "pound cake" came into my head--it must have popped up in my Internet search for recipes using self-rising flour (I had a leftover container my mom gave me for pancakes). But most of the those self-rising baked goods also called for buttermilk--which I did not have. In my fridge, however, was a small tub of sour cream. I knew this could be a good substitution for some baked goods. In fact, a few donut recipes appeared when I modified my search for self-rising flour and sour cream. But I was most drawn to a post for Sour Cream Pound Cake from farmflavor.com. It might take a while to bake, but sounded super easy to put together. And the instructions on my green food coloring bottle said I only needed to add 1/2 teaspoon into any cake batter to get that green tint. Perfect! My St. Pat's Green Sour Cream Pound Cake was born.

Ingredients:

2 sticks of butter (16 Tablespoons), softened but not melted
3 cups sugar
5 eggs
1 teaspoon vanilla
3 cups self-rising flour (sifted)
8 oz. sour cream (I use Daisy Lite)
1/2 teaspoon liquid green food coloring (I used McCormick)
Optional strawberries, green, grapes, whipped cream, and green frosting to decorate

Directions:

1.) Preheat the oven to 325 degrees. In a very large bowl, cream the butter and sugar together with an electric or stand mixer. Add the eggs one at a time, mixing after each, then add the vanilla and mix again.

2.) Alternate adding flour and sour cream until all ingredients are combined. Add the green food coloring last, mixing until thoroughly combined.

3.) Pour the batter into your pan of choice (that's been heavily greased with butter/flour or nonstick cooking spray). The original recipe calls for an hour and a half bake time for a tube/bunt pan. For my shallow book-shaped pan (slightly larger than 9x13 inches) I had to cut that baking time down significantly, checking after 30 minutes (still too wobbly), and ultimately baking only about 40-45 minutes total, until the top and edges were slightly brown and a toothpick inserted into the center came out clean.

4.) Remove the cake from the oven and let cool to room temperature before refrigerating overnight. Serve the next morning with strawberries, GREEN grapes for St. Paddy's, and any whipped cream or icing you choose.

I was a little nervous bringing the finished product to work the next morning after baking. Would a green cake be appetizing? Would the center be too solid or not solid enough? Despite a clean toothpick test, I hadn't cut into the cake or baked any side cakes to try first since the batter was just barely enough to fill my pan. And I didn't want to ruin the look of the finished cake before my coworkers saw it.

Turns out I didn't need to worry! The cake received rave reviews by my supervisor, our administrative assistant, and all the librarians and staff that had a piece. Nearly half the cake was gone by lunch time! The center was moist, the flavor was sweet, and I now have a go-to pound cake recipe for any time of year!


Thursday, January 21, 2016

Classic Cinnamon Rolls


In my family, I started a holiday tradition upon which we have cinnamon rolls for breakfast Christmas morning. And I bake them. The smell and the taste is wonderful to wake up to on such a special occasion, and it gives me something to do in the early hours I'm up before the rest of my family now that I'm past the age of present peeking (mostly). The last few years I've utilized pizza dough to create Easy Breezy Morning Cinnamon Rolls for Christmas breakfast--which are always fun to make, delicious to eat, and don't require yeast (so they get done a lot faster since the dough doesn't need time to rise). But before I discovered this pizza dough hack, I made my yeast-less cinnamon rolls with biscuit dough. And while that recipe has remained a family favorite for years--my handwritten version safely tucked within a fat, orange binder with other old school, paper recipes--I've never actually posted it here. But when this year's Christmas rolled around and I just couldn't find whole wheat pizza dough at my local grocery stores (or any pizza dough, really), I went back to the classic and made cinnamon rolls that hearkened to my early years as an unofficial baker. 

I'll call these my Classic Cinnamon Rolls. It turns out the original recipe (which I adapted slightly) comes from a Cooks Illustrated recipe by Raquel Pelzel, published May 2002 (That's where I got some of the language like "shaggy" dough and "wet sand"). My mom had copied the pages with diagrams to know how to shape the rolls correctly (which are probably safely tucked away within her own recipe binder). But since I don't have those original copies, special thanks to Ed Santiago for his recipe archive scans of the pages:


Ingredients:

For the dough:
Flour (for dusting)
2 and 1/2 cups whole wheat pastry flour
2 Tablespoons sugar
1 and 1/4 teaspoons baking powder
1/2 teaspoon baking soda
1/2 teaspoon salt
1 and 1/4 cups buttermilk
2 Tablespoons melted butter

For the filling:
3/4 cup brown sugar
1/4 cup white sugar
2 teaspoons cinnamon
1/8 teaspoon ground cloves
1/8 teaspoon salt
1 Tablespoon melted butter

Directions:

1.) Preheat the oven to 425 degrees. In a large bowl, whisk the flour, sugar, baking powder, baking soda, and salt for the dough. In a separate bowl or large measuring cup, whisk the buttermilk and melted butter for the dough.

2.) Add the wet ingredients to the dry ingredients and stir until a shaggy dough forms, about 30 seconds. Then knead the dough until it is smooth and not shaggy. Pat into a 12x9-inch rectangle and spray the top of the dough lightly with nonstick cooking spray.

3.) In another bowl, combine the brown sugar, white sugar, cinnamon, cloves, and salt for the filling. Add the melted butter and stir until the mixture resembles wet sand. Then take half the mixture and pat a thin layer onto the rectangle of dough, pressing down but not too deep.

4.) Roll the dough into a log, crimp the edges, and cut into your desired amount of cinnamon rolls. Lay them into a round cake pan sprayed with nonstick cooking spray and sprinkled with the other half of the filling mixture (save just a little to sprinkle on top of the rolls as well). Press the rolls flat and dust the tops with the cinnamon mixture.

5.) Bake the rolls for approximately 23 minutes, checking early for even browning. Remove from the oven, let cool at least 5 minutes and then ice with your favorite icing. If you don't have a recipe, it's easy to make!

From my previous cinnamon roll recipe, here's a simple Icing Recipe:

Combine 1 cup powdered sugar with 2 Tablespoons of your favorite milk-like product (soy creamer, buttermilk, half and half, or just plain milk). Be careful when you pour the sugar, then stir thoroughly. Drizzle over slightly cooled cinnamon rolls and you're done!

Now for some pictures of the process!


Yes, the outfit is a must!


Wednesday, October 21, 2015

Fall Fun Including Pumpkin Donuts!


It's true, I've been a little behind in my blog postings, but that doesn't mean I haven't been ready (as always) for fall (and pumpkin).

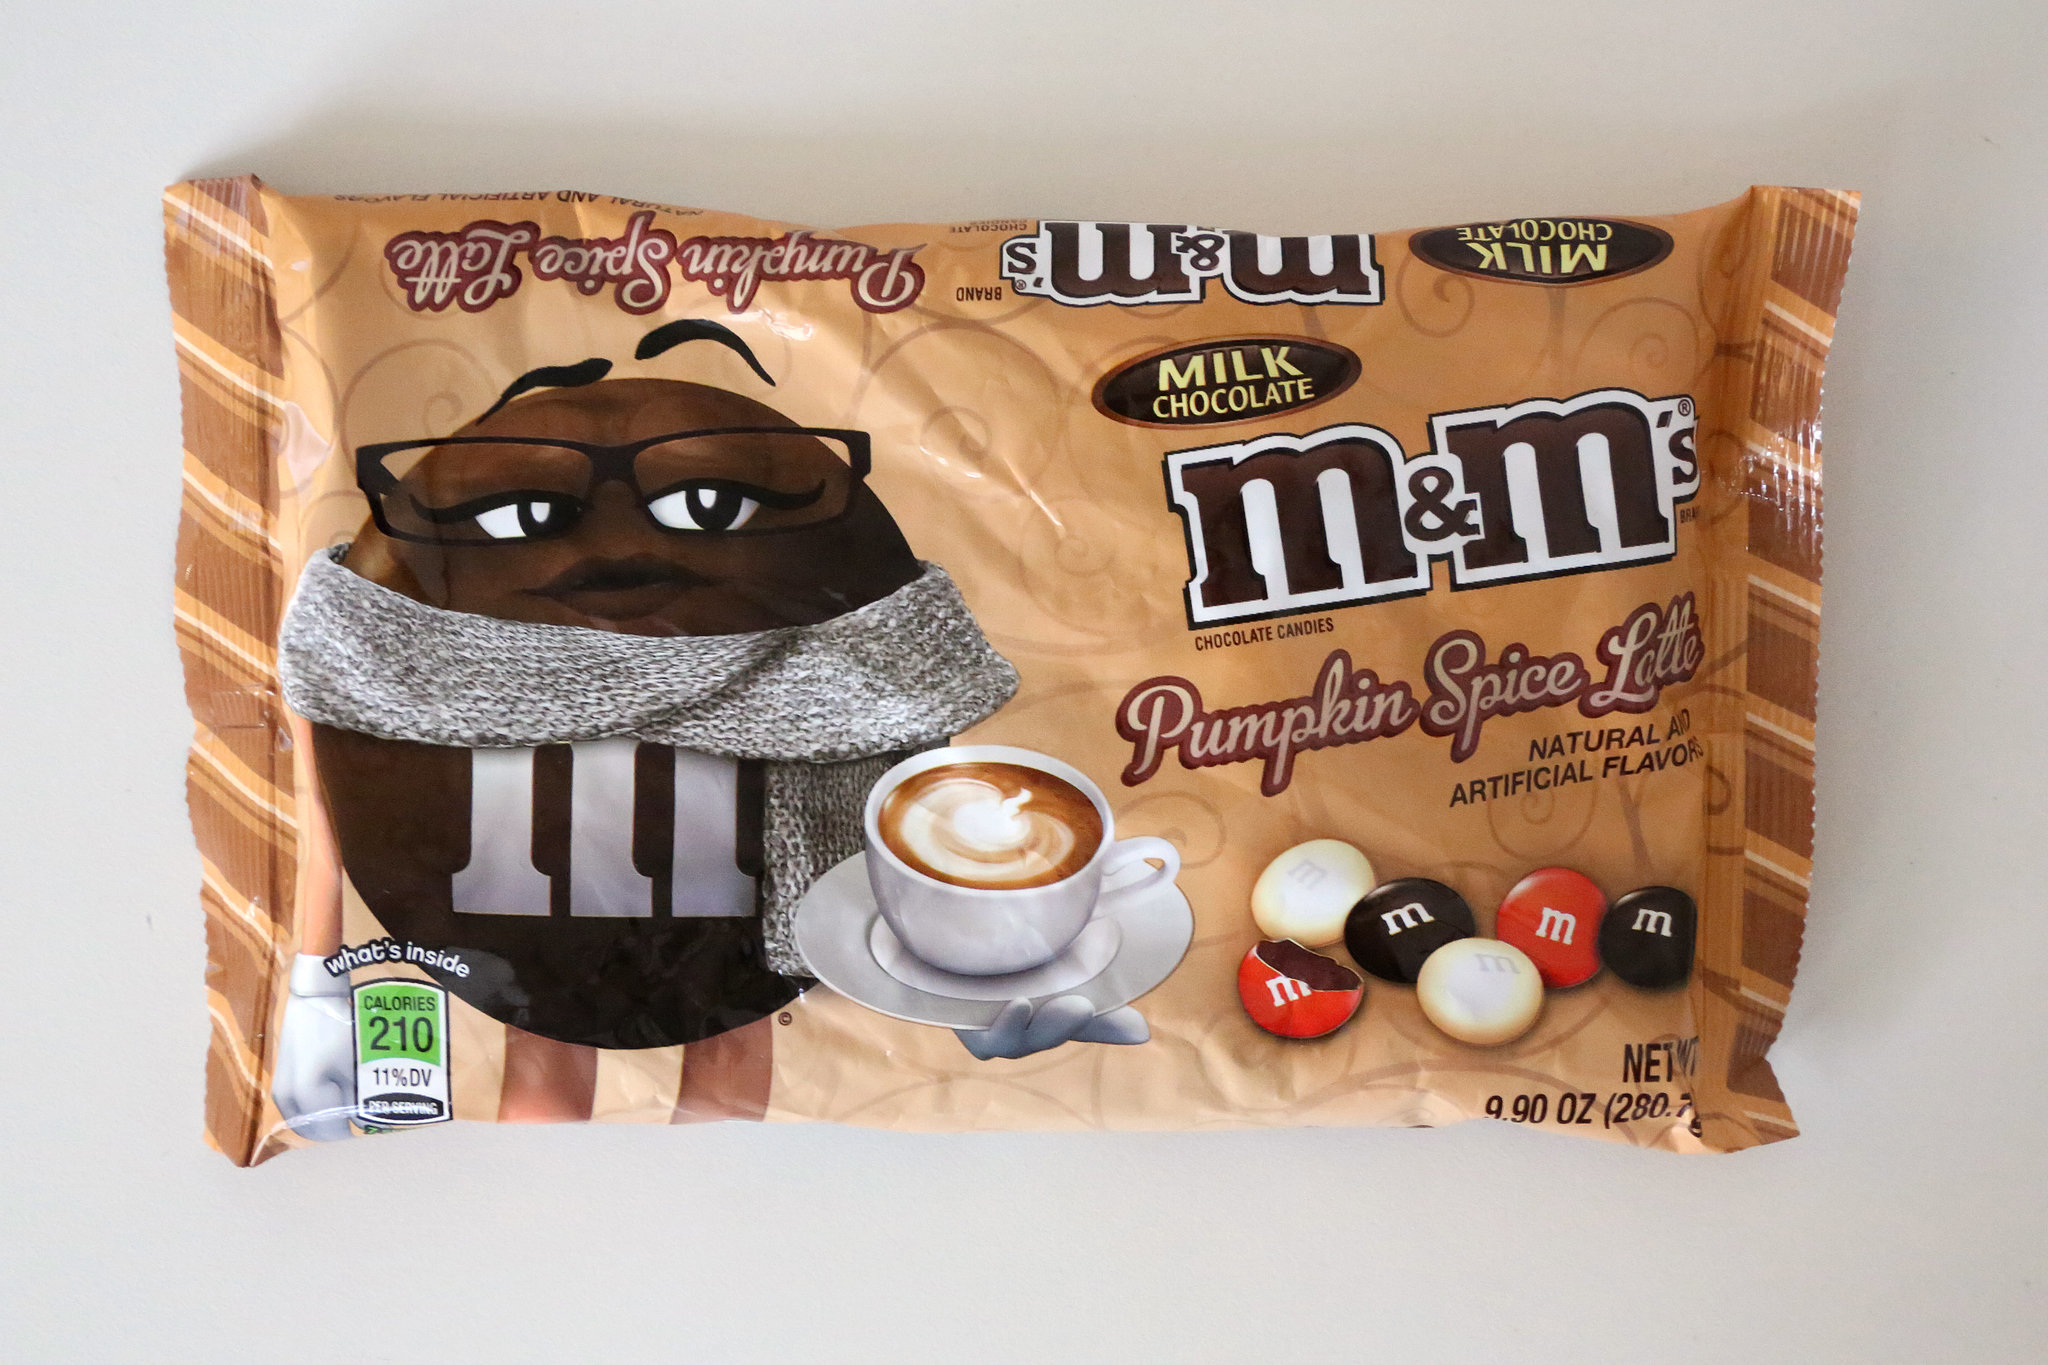
One need look no further than my recent grocery store purchases to confirm my commitment to all things pumpkin once late September rolls around. As I happily shared with a fellow pumpkin-loving Facebook friend, this season I've thus far sampled: pumpkin granola, yogurt, cream cheese, cake bars, black coffee (K-cup pods from Target), Starbucks lattes, waffles, pancakes, cereals, and M&Ms (pumpkin spice LATTE flavored).

Fall-themed cereals alone!
Then my mom purchased me this assortment from Trader Joe's:

Not all of these were spot on--I'm less impressed with the Nestle chips.

But the biggest foodie plans for the season revolved around my sort of annual Halloween party get-together of former coworkers (we try to do this every year). I love putting together a menu of fall and spooky-themed items, many of which I've employed in the children's department of the library and many that I've just made up on the spot. Caramel apples were a must, seeing as how I hadn't yet made any caramel apples this fall (and it was October already), and spider cookies (made from Oreo cookies dotted with candy eyes) was a fun delight I'd tried before. Running short of time, I bought a prepackaged Duncan Hines chocolate cupcake mix (dark chocolate fudge if I remember correctly), but I couldn't skimp on something pumpkin flavored. Usually I make a nice Pumpkin Dip with cream cheese, but this time I'd had an idea to do some sort of pumpkin cake for a long time. Inspired by the MyRecipes.com Boo-tiful Pumpkin Cake, I thought I'd go a little smaller scale with Pumpkin Donuts (hey, I had a donut pan and not a bunt cake pan). With a quick Internet search, I found a four and a half-star recipe for Glazed Pumpkin Donuts on AllRecipes.com that I quickly modified for my purposes.

Ingredients:

2 cups whole wheat pastry flour (sifted)
1/2 cup packed brown sugar
1 and 1/2 teaspoons baking powder
1 and 1/2 teaspoons pumpkin pie spice
1/2 teaspoon salt
1/4 teaspoon baking soda
1 cup pumpkin puree (I used Libby's Canned Pumpkin)
2 eggs
1/4 cup of milk (I used Fat-Free Lactose Free Milk)
1/4 cup butter, softened


Directions:

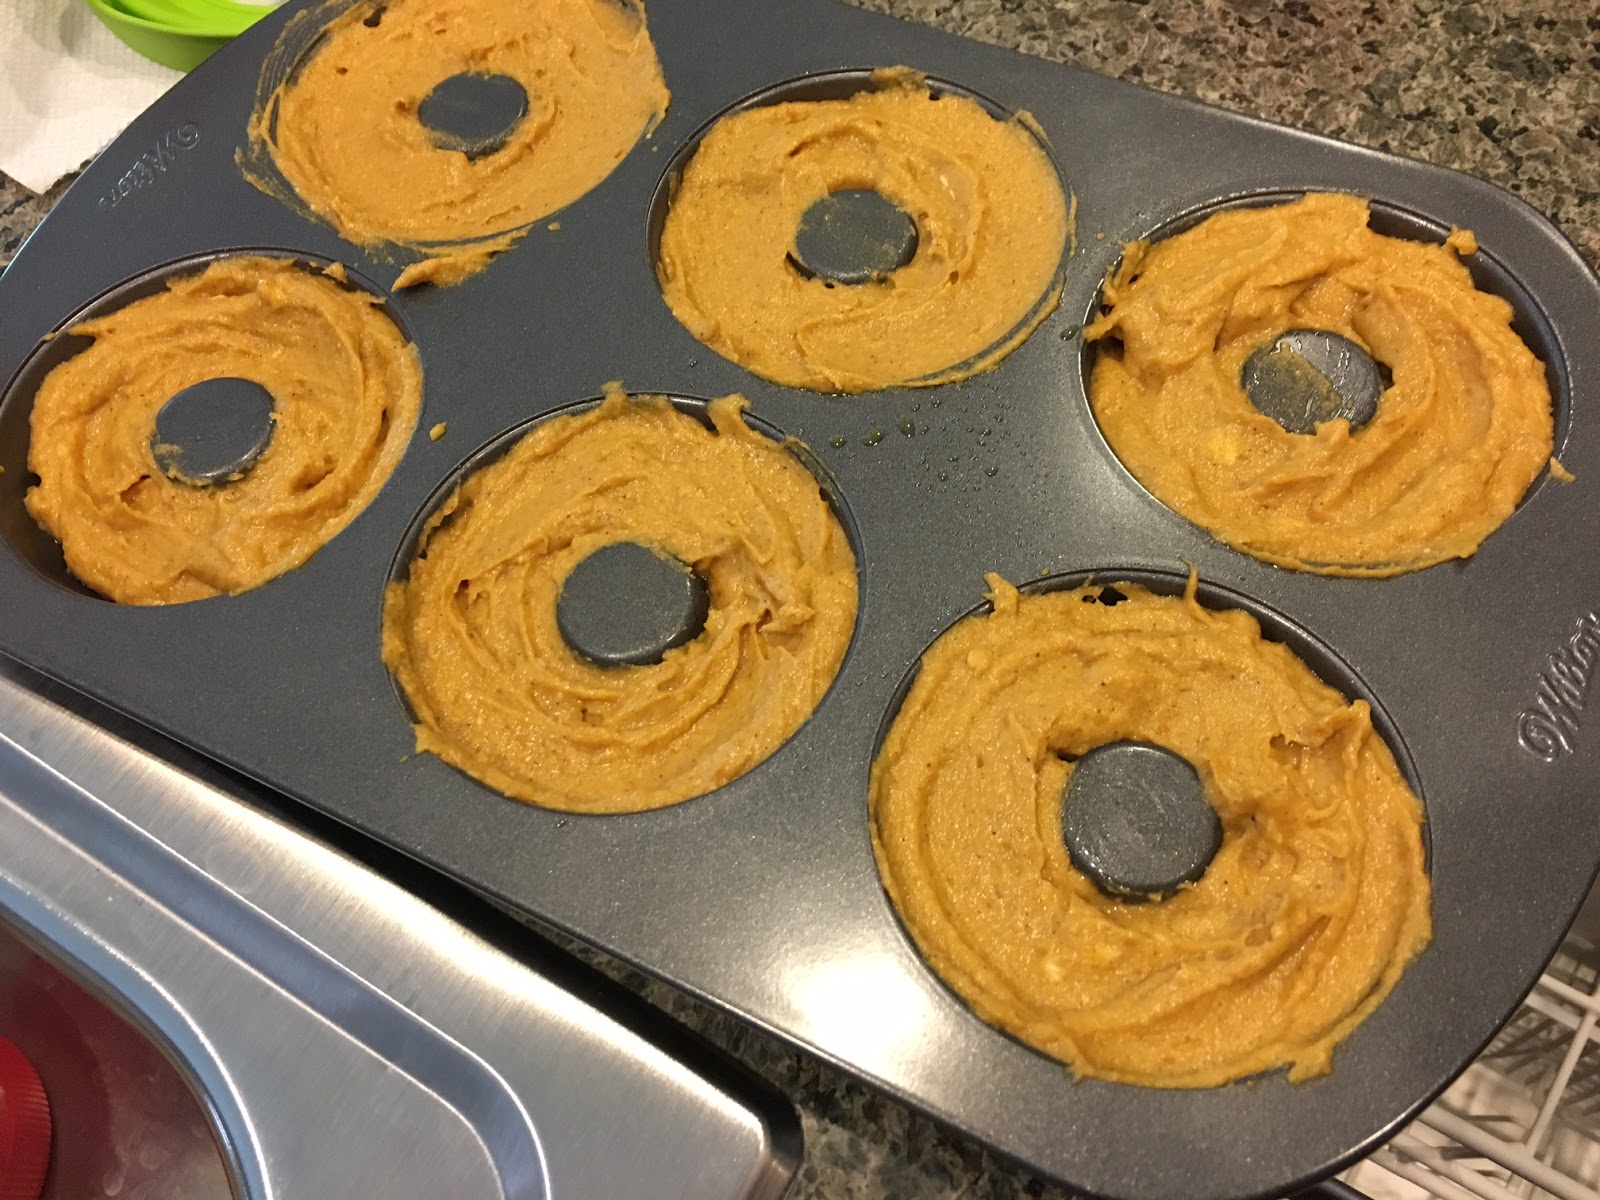
1.) Preheat the oven to 325 degrees and spray your donut pan with nonstick cooking spray (you could try with a muffin pan, but it really helps to have a donut pan to make donuts).

2.) Sift the flour, brown sugar, baking powder, pumpkin pie spice, salt, and baking soda into a large mixing bowl. Add the canned pumpkin, eggs, milk, and softened butter. Stir to combine ingredients (an electric hand mixer on low speed was especially helpful) until the batter is thoroughly combined but not overmixed (just make sure there are no large lumps of butter left. Those were the hardest parts to break down).

3.) Pour the batter into the donut pan, filling almost to the top. Wipe away any excess batter around the edges with a paper towel (this will help the donuts look more uniform later). 


4.) Bake approximately 8-10 minutes (I started with 8 minutes but the donuts were not yet firm when I took them out--they should sort of spring back when touched rather than leave an impression. I baked for an additional 2 minutes until they started to brown around the edges just a tad).

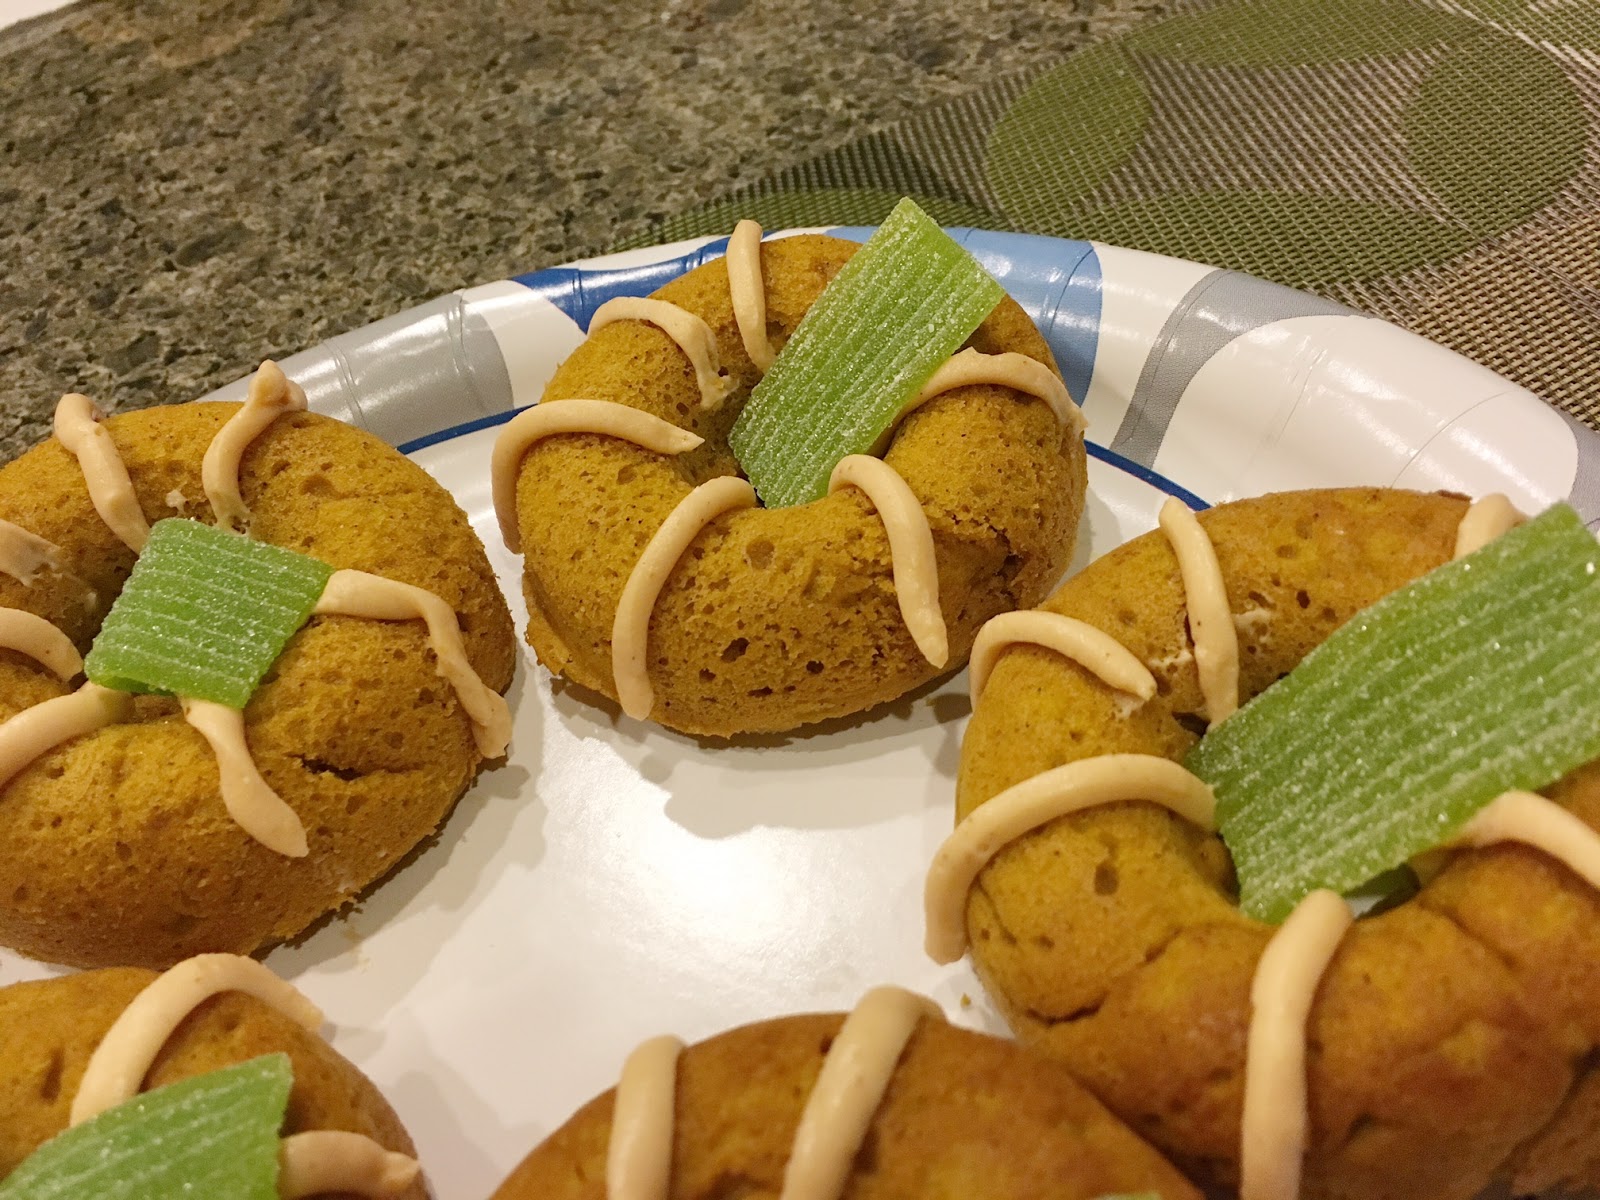
5.) Remove the donuts from the oven and allow to cool to room temperature before removing from the pan (otherwise they will stick to the pan and fall apart). Once the donuts are completely cooled, flip them over and frost them any way you like. I used Philadelphia Pumpkin Spice Cream Cheese spooned into a plastic baggie with the tip cut off so I could draw little gourd-shaped lines on the donuts.


Optionally, you can also add a piece of green licorice (I used green apple Rips) to make a stem, though the licorice will make the rest of the donuts smell like green apple when you store them in the fridge. Yes, I learned all these the hard way.

I have to admit, despite my obvious bias to all things pumpkin, these were my favorite treats of the Halloween evening. They came out moist--even after being refrigerated overnight--paired well with the cream cheese, had a lovely flavor, and offered a nice contrast to all the chocolate on my table.


What other fall things have I baked lately and not blogged about? I admit, the list is limited to JELLO Jigglers attempted in a pan meant for cakes (miraculously, it worked!). But for me, Halloween is the big event of the season...until Thanksgiving and pumpkin pie comes along....


Sunday, March 22, 2015

Catch Up Time

Wow, it's been a long time since I've blogged a new recipe, mostly because my baking lately has been recipes I've posted before. That, and a busy work schedule and a few trips out of town kept me from baking as much as I used to. But that's no excuse not to share delicious food and get back on schedule with seasonal recipes! As my latest banana bread is baking in the oven, I'm going to take a moment to catch up on the various recipes I've made throughout the winter season, concluding with Spring Banana Bread on my next post! So stay tuned....

Catch Up:

October
After making Pumpkin Spice Lattes multiple times this fall, I proceeded to decorate my house for Halloween, enjoy a boisterous football season, attend the local Aki Matsuri festival (autumn Japanese festival), and make Halloween treats for my friends in a gathering much smaller than the famous party of 2012, but just as fun! I also carved a pumpkin and made toasted pumpkin seeds on Halloween Day.


November
The month of November brought about a wonderful vacation to visit my grandfather, his new wife, and my aunt and uncles in south Texas. While there was obviously no time for baking away from home, I enjoyed authentic Mexican food close to the border, as well a BBQ, burgers, and free hotel breakfasts. Later that month I went on a second trip, this time with my boyfriend's family to whale watch at Newport Beach. Though it was just a weekend trip, I was able to enjoy a couple of nice meals and see live dolphins to boot! Oh, and what about Thanksgiving? I made my traditional pies (pecan, pumpkin, and sweet potato!), as always, and spent Thanksgiving evening with my boyfriend's family--a second feast of authentic Filipino cuisine!


December
I can't have Christmas without baking. This month I made savory scones and artichoke dip for my holiday party at work, then Christmas cookies (from store-bought dough), pies, and other snacks for another gathering with friends, celebrated the 90th birthday of my boyfriend's grandmother with lots of food and fun, made Mickey waffles for breakfast, had one final Christmas gift exchange party, and baked my traditional cinnamon rolls for breakfast on Christmas morning. I also tried a scorpion chili pepper for the first time--spicy but not unbearable!


January
New Year's parties brought more food, while the month of January was also my older brother's birthday, and a sushi outing! I tried a new breakfast diner in town, ramen, buffets, and made both pizza and French Toast without a recipe. You probably think all I do is eat out and...eat.


February
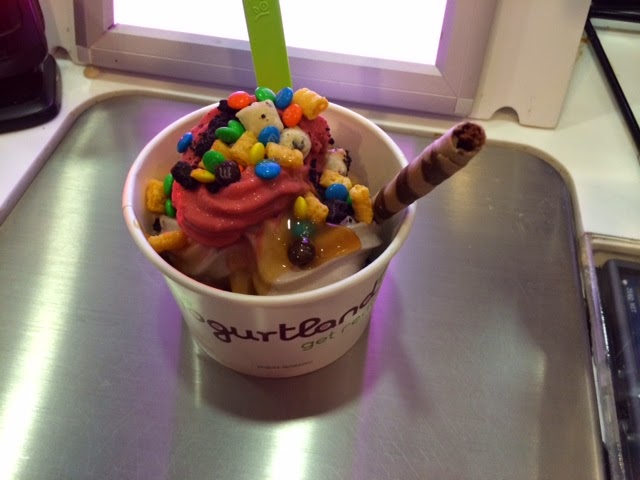
In the beginning of February I enjoyed the Super Bowl by eating a Super Bowl of ice cream and cookies. Then there was an early Valentine's Day lobster dinner with frozen yogurt. Next, my mom's birthday, followed by my boyfriend's birthday. February is also the month of my friend's birthday and my late grandmother's birthday, so we had celebrations for each. On Valentine's morning I made heart-shaped pancakes with a chocolate chip border using my traditional pancake recipe.


March
March brought about going away parties for my friend, my first 5K, and a St. Patrick's Day where I wore green but sadly didn't bake anything green! I did, however, make bibingka and halo-halo for the going away party. I spent the rest of the month celebrating Pi Day (3/14/15) with my mom's coconut banana cream pie, and Macaron Day with macarons. I also baked chocolate chip cookies for two different occasions using my favorite Pillsbury dough from Sam's Club. Yes, despite the delays in posts, I have actually done some baking! Oh, and there were some ice cream adventures in between (like dark chocolate ghost pepper gelato shown in the last picture--eaten just last night!).


So you're finally all caught up with my food adventures (if you were wondering where I've been all this time). And now, back to my not-so-regularly-scheduled blog programming. Thanks for staying with it!