Showing posts with label crumbs. Show all posts

Thursday, July 11, 2013

Berry Cheesecake


It's time for a potluck! To welcome our new boss, my coworkers arranged a fun vegetarian potluck lunch and I couldn't wait to sign up! For a non-meat dish, I decided on bringing in the family's traditional Artichoke Dip that my mom makes for Christmas almost every year (and sometimes Thanksgiving, and sometimes random parties in between). And of course, I couldn't show up without a baked dessert! Since our potluck was right before the Fourth of July, I decided to make something red, white, and blue. The idea of Berry Cheesecake came to me before I had a recipe, but I'm always up for experimentation. This one's based off of the Sour Cream Cheesecake I made with my friend last April, with a few slight changes to make the cake berry fun!

Ingredients:

For crust:
1 and 1/2 cups graham cracker crumbs
1/3 cup melted butter
1/4 cup sugar

For filling:
2 eggs
2/3 cup sugar
1 teaspoon vanilla extract
8 ounces light cream cheese (softened)
1/4 teaspoon salt

For topping:
2 cups light sour cream
1/4 cup sugar
1 teaspoon vanilla
3 Tablespoons strawberry jam
5-6 large strawberries
1/2 cup blueberries

Directions:

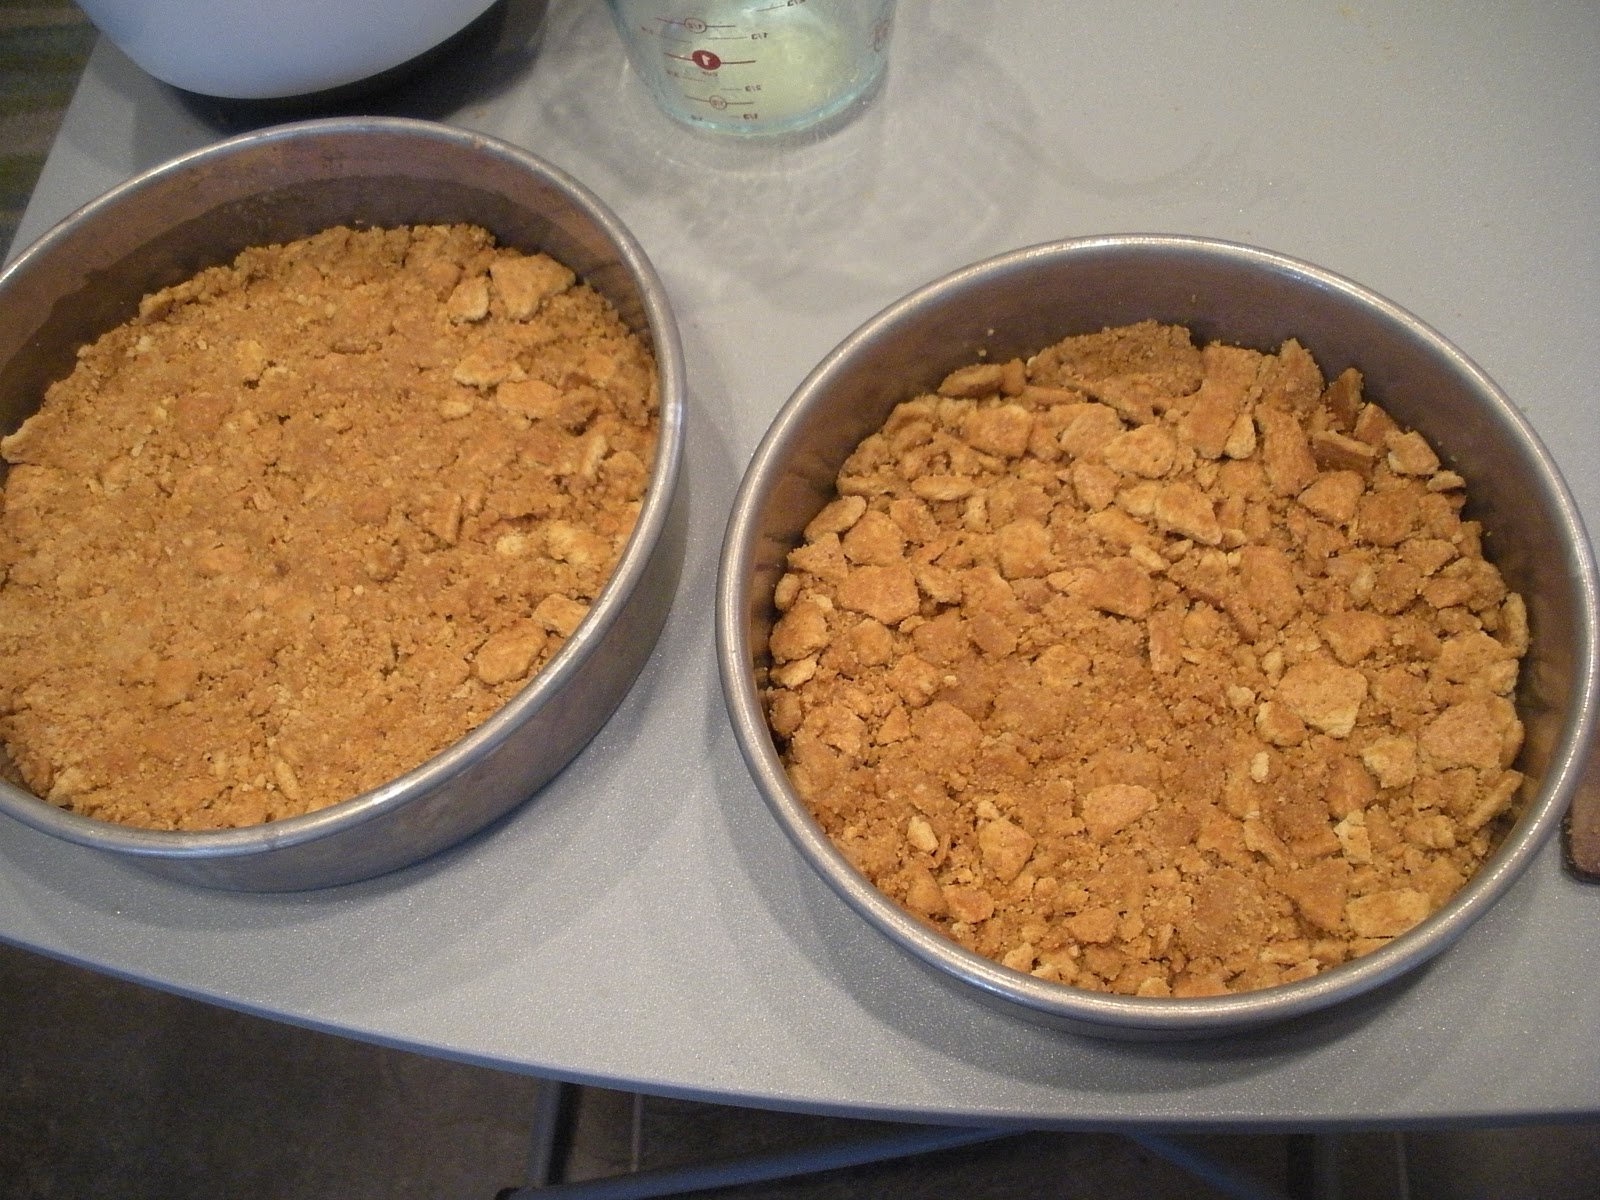
1.) Preheat the oven to 325 degrees. Crush a box of graham crackers to create crumbs (I crushed mine in a ziploc baggie, or you can buy graham cracker crumbs already crushed).  Mix the crumbs, butter and sugar together, then press the mixture into a round cake pan. Bake about 8 minutes, then remove from the oven to cool.

2.) In a bowl, beat the eggs, then add the sugar, vanilla, cream cheese and salt. Combine all with an electric mixer until the mixture is smooth.  Pour on top of the crust and bake another 15 minutes.

3.) Let the cheesecake cool while you make the topping. Mix together the sour cream, sugar and vanilla extract. Stir in the strawberry jelly, then pour on top of the filling and bake another 10 minutes.

4.) Cool the cheesecake completely before refrigerating overnight. In the morning, slice your strawberries very thin, and use the slices to decorate the top of the cheesecake in a pattern with blueberries around the edges. Sprinkle the fruit with just a dusting of sugar and serve cold to keep the cheesecake as solid as possible.

And, though I didn't make it myself, here's my mom's famous Artichoke Dip!

Ingredients:

3 cans whole artichoke hearts
1 cup mayonnaise
2 cups powdered Parmesan cheese
1 teaspoon garlic powder (not garlic salt)
Paprika for sprinkling

Directions:

1.) Preheat the oven to 325 degrees. Open the cans of artichokes, drain, and cut into small pieces with kitchen scissors. Place pieces in an empty ceramic crock pot.

2.) Add in the mayonnaise, Parmesan cheese, and garlic powder, stirring so that all ingredients evenly combine. If the mixture looks too moist, add a little more cheese. If it’s too dry, add more mayonnaise. When you’re done mixing, smooth the top flat with the back of a spoon.

3.) Sprinkle paprika over the top of the dip until it forms a nice and even red layer that’s not too thick but still covers the artichokes. Bake at 325 degrees for about 25-30 minutes, watching the dip for the last few minutes to make sure it doesn't brown too much on the top.

4.) Remove from the oven and serve warm or refrigerate overnight. The next day, place the ceramic pot into the electric crock and turn on to heat a few hours before the dip will be served. Tastes best warm.

Sunday, April 15, 2012

Sour Cream Cheesecake


Yes, I am lactose intolerant. So, yes, as a general rule, I cannot eat such delicious foods as cheesecake--or pretty much anything with the words "cheese" or "cream" somehow buried in them. This is not to say I don't occasionally tempt fate, in very small portions, especially for the sake of dear friends, and with the help of a Lactaid pill. But you don't want to know about my dietary deficiencies. You want to know how to make that delectable-looking slice of heaven that even this non-dairy eater here is raving about from the minimal sliver she used for taste testing.

I owe this one to my dear friend Janice (that's her in the picture under step 2) who wanted to try out a recipe that another friend gave her. We've often created baking experiments together, and it's always fun to teach and learn and just spend time together--especially when it results in delicious food. So dairy product or no, I was gung-ho to try out her friend's recipe labeled "Cream Cheese Pie."  Accidentally glossing over the word "pie" on the paper she handed me, I baked both our Sour Cream Cheesecakes in cake pans (we doubled the recipe to make one for each of our families). This essentially created an easy cheesecake recipe (because cheesecakes are actually rather complicated to make under normal circumstances--they require hot steam baths to prevent cracking and everything!). But whatever you call it, and however you vary the recipe, it's still going to taste great and be a fun project to put together with friends!

Ingredients:

For crust:
1 and 1/2 cups graham cracker crumbs
1/3 cup melted butter
1/4 cup sugar

For filling:
2/3 cup sugar
1 teaspoon vanilla
8 ounces light cream cheese (softened)
1/4 teaspoon salt
2 eggs

For topping:
2 cups light sour cream
1/4 cup sugar
1 teaspoon vanilla

Directions:

1.) Preheat the oven to 325 degrees. Crush a box of graham crackers to create crumbs (we crushed ours by hand in plastic baggies). Mix crumbs, butter and sugar together, saving a few crumbs for the topping. Press the mixture into the cake pan, bake 8 minutes, then remove from oven to cool.


2.) In a bowl, beat the eggs, then add the sugar, vanilla, cream cheese and salt. Combine everything with an electric mixer until the mixture is smooth. Pour the mixture on top of the crust and bake 20 minutes.


3.) Let the cheesecake cool while making the topping: mix together the sour cream, sugar and vanilla, along with remaining crumbs. Pour on top and bake another 10 minutes. (I also accidentally glossed over the fact that the crumbs in the original recipe are supposed to go on the very top of the cake, not inside the topping mixture. But, oh well, this does not affect flavor--only presentation. See below).

4.) Cool the cheesecake completely before refrigerating at least 30 minutes, though overnight is best.

Using the light cream cheese and sour cream makes this one just a touch healthier than most cheesecakes, and I believe made it slightly easier for my tummy to digest. Don't let the three different mixtures (crust, filling, topping) scare you away from a relatively easy recipe that's still under five steps to make! Thank you Janice, and thank you Janice's friend!

Next up, my Easter escapades!

Sunday, August 14, 2011

Kind of an odd one, but still tasty....


What's baking without a little experimentation? Actually, this latest recipe I didn't bake at all, but rather stuck in the freezer as an attempt to make Frozen Banana Squares. The idea came from a recipe I stumbled upon on a very cute blog called An Activity a Day for Parents and Kids. The "kid-friendliness" of the treat appealed to me since I thought I might be able to use it in a future library program. I knew we had a ton of bananas in our house because my mom kept buying them for my dad and brothers and my dad and brothers kept forgetting to eat them. I personally love the taste of bananas but have been cutting back on them because of their high sugar and carb content. After going for so long without, yesterday seemed like the perfect time to treat myself. I did just finish up my last semester of library school!

The recipe also appealed to me because the blogger, Christine Malone Kline, recommended Trader Joe's brand ingredients, which I knew were generally healthier than a lot of ingredients found at other grocery stores. Okay, I thought. Let me grab some bananas and get started.

The banana grabbing was the easy part. The other ingredients...not so much. Vanilla wafer cookie crumbs (or any type of cookie crumbs) were required to make the crust of this treat. Graham crackers are my absolute favorite, so I decided that's what I would use...except we were out of graham crackers. I must have used up all the crumbs I'd crushed for a s'mores recipe a few weeks ago and there weren't any boxes left in the pantry. Okay, I thought, what about those ginger thins I bought at Trader Joe's that nobody's been eating? Apparently someone had been eating them. The ginger cookies were nowhere to be found. It was already 9:45 p.m. (Trader Joe's closed at 9) and I wasn't about to go out late-night cookie hunting when I knew we had so much food in our house already. I'd just have to improvise. I finally settled on sugar ice cream cones that I crushed into pieces with a metal ice cream scoop. Resourceful, and delicious. Okay, I thought again. On to the next ingredient! Instant vanilla pudding.

Crud.

Yes, we were all out of pudding mix. I think we had ended up donating some boxes of Butterscotch pudding mix to our church food drive. There was nothing left. Well, what was pudding usually made out of? Mostly sugar and milk, right? I had sugar and milk at least.

Forget this recipe, I thought. I'm just going to wing it now. I tossed a tablespoon of brown sugar and a fourth cup of almond milk in with my bananas, mushed them up, and spread them on top of my ice cream cone crust. Both the crust and the banana mixture weren't quite enough to fill the 9x13 pan that Christine recommends, so my version of the recipe ended up looking just a little strange. Not very "square-ish" for a dessert called banana squares. After freezing over night, however, I taste-tested the concoction this morning. Actually, not bad. Actually quite tasty with a banana topping that's not too sweet and a crust that is sweetly delicious. If you want to try out my odd version of Frozen Banana Squares, it's fairly easy too:

Ingredients:

Just under 1 cup sugar cones, crushed into crumbs (I didn't have quite enough to fill a cup, but used about eight cones, I think. Keep in mind you can still use any kind of cookie crumbs)
Just under 1/2 cup white sugar
1/4 cup melted butter
4 medium bananas, mashed
1 Tablespoon brown sugar
1/4 cup almond milk (or milk of your choice)


Directions:


1.) Cut a piece of parchment paper to fill the size pan you're using, and spray the paper with nonstick cooking spray. In a bowl, combine the crushed cone crumbs with the sugar and butter, whisking until everything is thoroughly mixed.

2.) Press the cone mixture flat onto your parchment paper in the shape of a square or rectangle to form a crust (I recommend using a plastic baggie on your hand when pressing the crust down to avoid it sticking to your fingers).

3.) In the same bowl (it should be empty now), add your bananas, brown sugar, and milk of choice. Mash and mix until combined. The batter should be about cookie-dough consistency, not too runny or too thick (A few unbroken banana chunks are fine).

4.) Scoop the banana batter on top of your crust and press flat to form a square or rectangle on the parchment paper in your pan.

5.) Place the pan in the freezer and freeze at least four hours or overnight. Remove from freezer, and let thaw just enough to be able to cut into squares.

One day I'd still like to try Christine's original recipe. I'll try to remember to go grocery shopping first.